
为什么需要SSL证书?
SSL 证书是一种数字文档,用于验证网站身份并启用加密连接。这种加密对于保护传输中的用户数据至关重要,可使任何外部方都无法读取这些数据。SSL 代表安全套接字层,现已演变为 TLS(传输层安全性)协议,不过 SSL 这一术语仍被广泛使用。
简单的说,为你的网站启用SSL证书和https访问方式可以避免你的浏览内容被分析和劫持。由于众所周知的大陆网络环境,如果你的服务器被部署在国内,没有备案和未启用https的网站会被分分钟劫持到运营商的界面(╯‵□′)╯︵┻━┻或者干脆给你来个反诈提醒,同时,一个启用了https的网站也能极大提升在搜索引擎中的展示概率(至少对bing和google来说)
前言
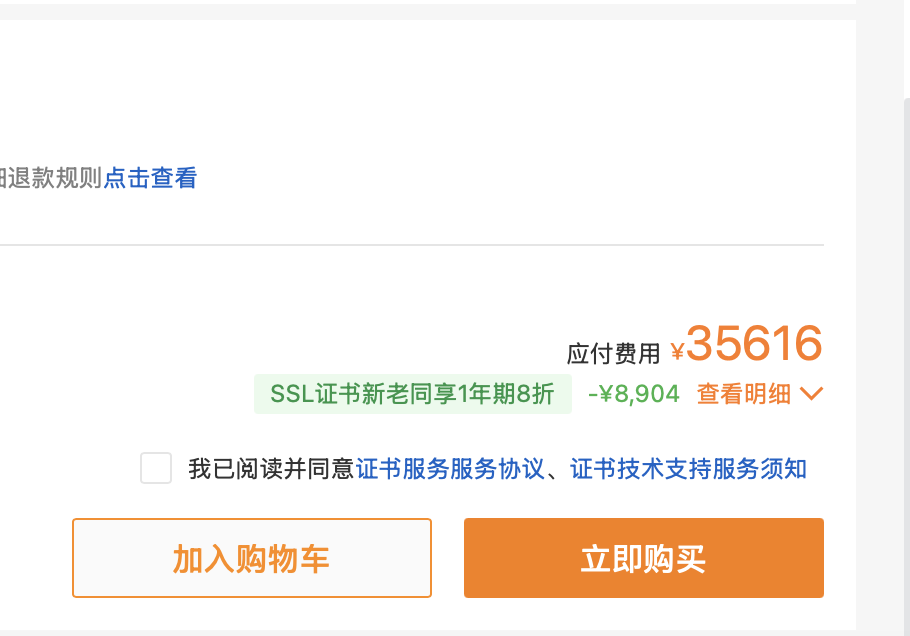
之前曾经尝试用过阿里云的DV单域名证书,但是限量不说一次只能申请一个域名还不支持通配符!如果要使用通配符证书那么必须去购买OV证书,贫穷的垃圾佬肯定是不会在上面掏一分钱的(其实是根本买不起)
最终找到了acme.sh 项目,纯 shell 脚本,无依赖;并且功能更加丰富,证书续期也支持自动 wellknown 和各种 dns api 验证;支持自定义 notify 和各种 hook 操作;天呐,那是极好的
acme.sh的项目地址:https://github.com/acmesh-official/acme.sh
其他高级的用法:https://github.com/acmesh-official/acme.sh/wiki
安装
安装有两种方式,本地部署和docker安装。博主的各类服务都跑在家中NAS的docker上,所以我更推荐使用docker方式安装,这里以群晖的container manager和命令行作演示
docker部署(推荐,全平台)
群晖的Container Manager
在FileStation中的docker目录下创建acme.sh目录
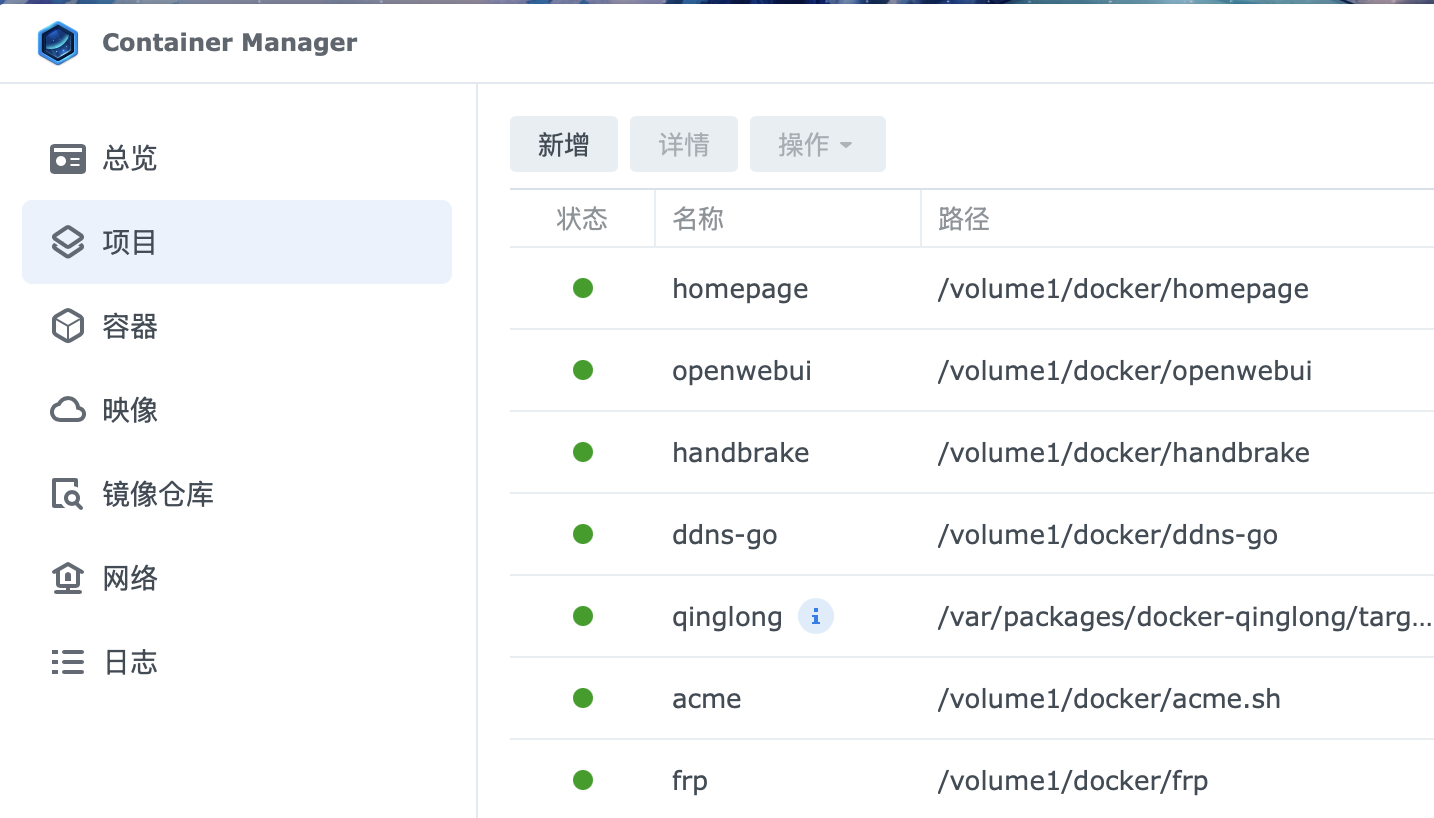
启动Container Manager,转到项目,选择新建
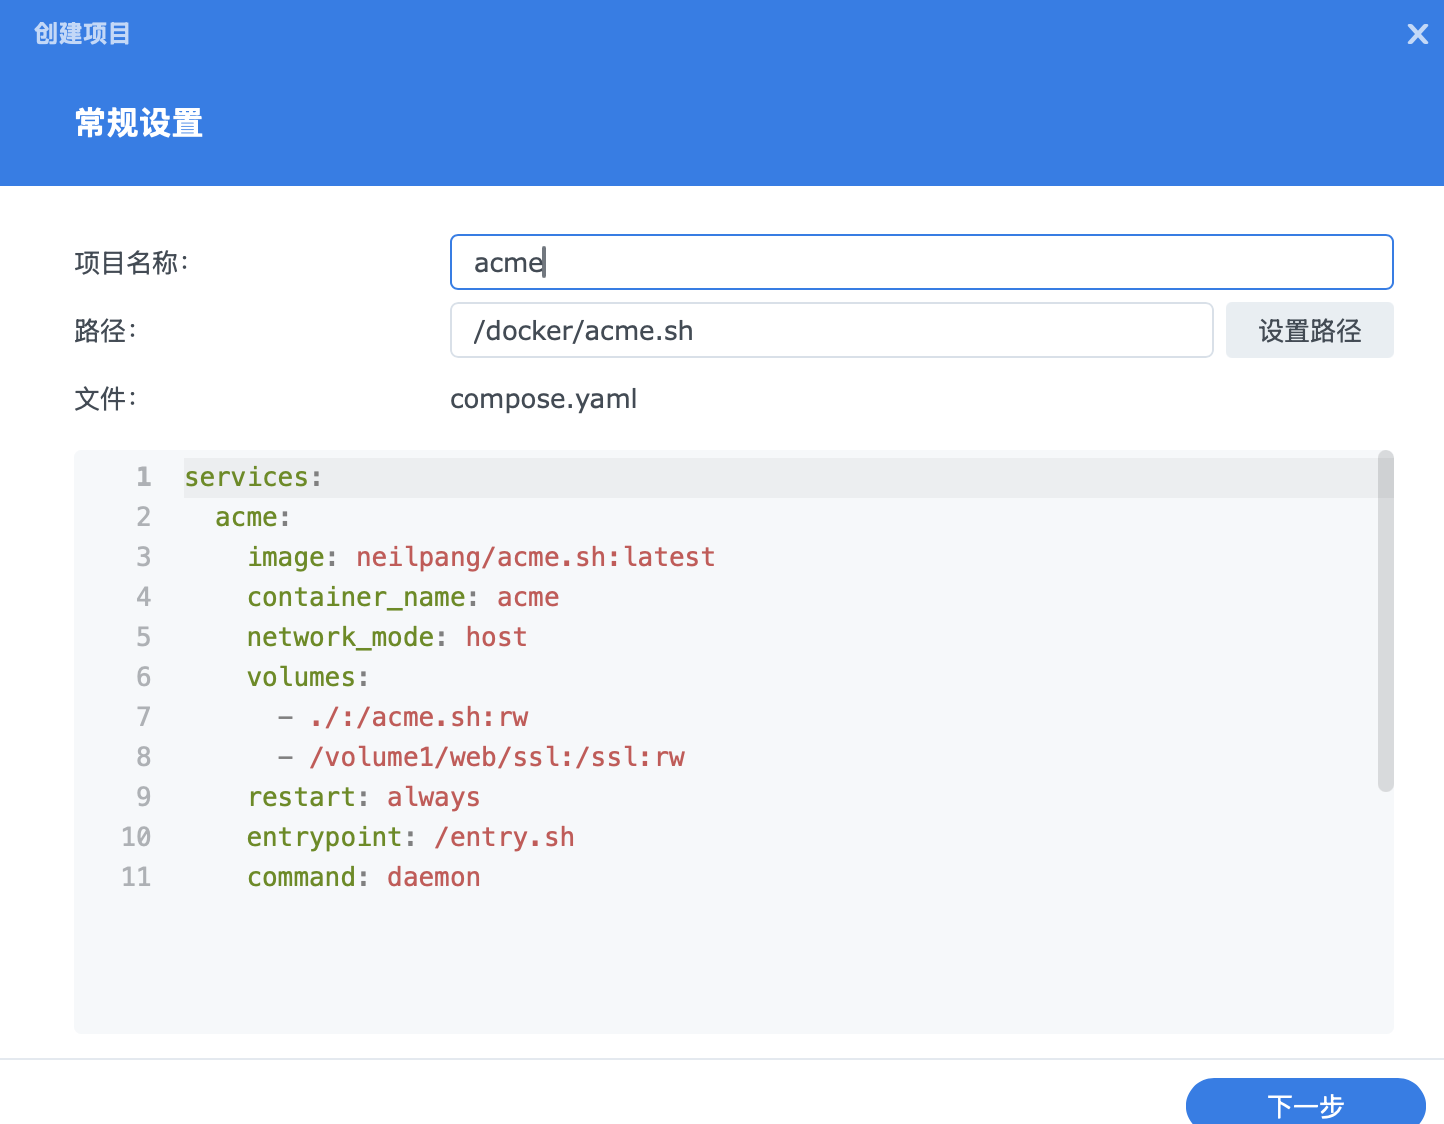
3. 项目名称命名为acme ,路径设置为你创建的acme.sh文件夹,来源选择创建docker-compose.yaml 将下面的yaml内容复制进去
services:
  acme:
    image: neilpang/acme.sh:latest
    container_name: acme
    network_mode: host
    volumes:
      - ./:/acme.sh:rw
      - /volume1/web/ssl:/ssl:rw #这里挂载你的实际nginx证书或者其他服务证书存储位置
    restart: unless-stop
    entrypoint: /entry.sh
    command: daemon
4. 点击下一步,在下一个页面勾选创建项目后立即启动,点击完成后等待部署完成
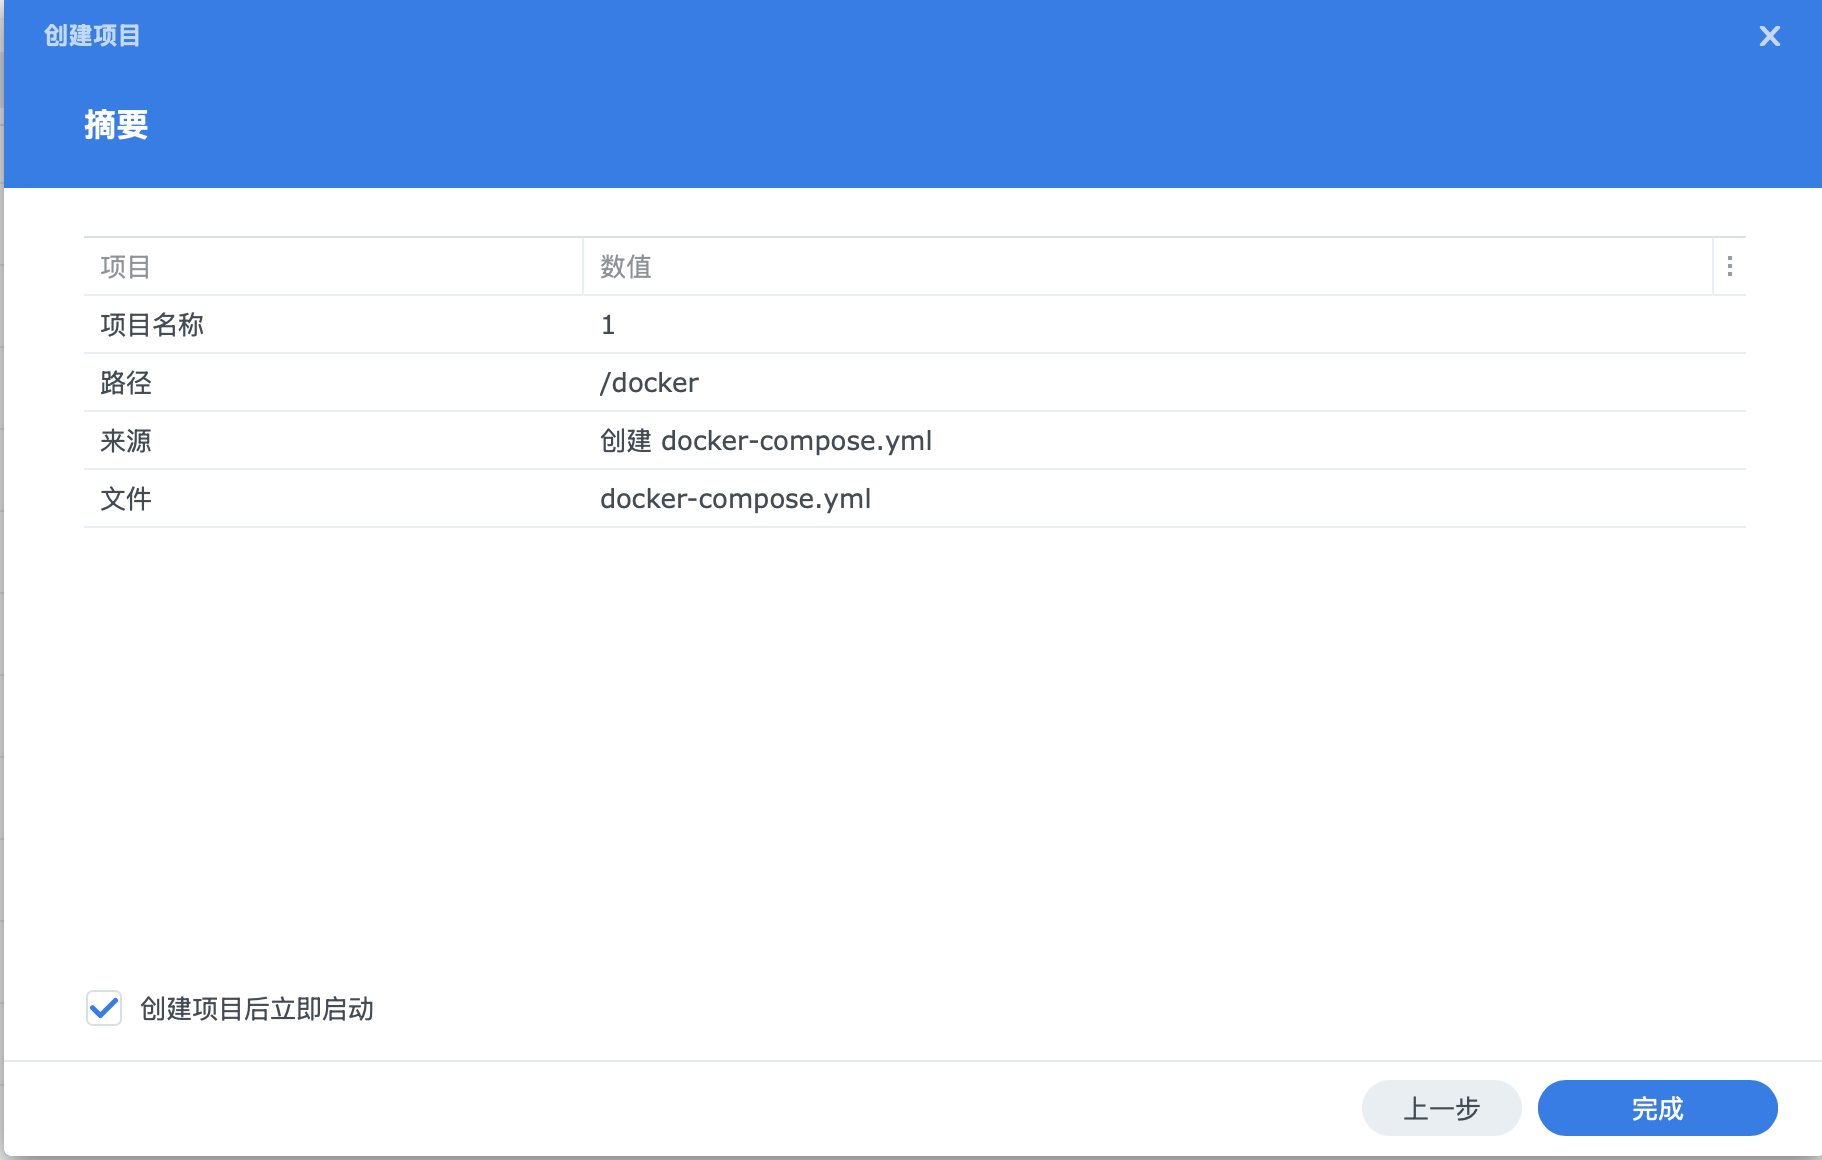
5. 完成后检查acme.sh文件夹,查看是否出现了内容
docker compose命令行(全平台)
在你熟悉的位置创建
acme文件夹并转到这个文件夹
mkdir acme && cd acme2. 使用vim编辑器创建docker-compose.yaml文件,复制修改compose文件的内容
vim docker-compose.yaml按下键盘上的i键开始编辑,使用Shift+Insert复制剪切板中的内容,完成后按下Esc键,输入:wq退出vim编辑器
services:
  acme:
    image: neilpang/acme.sh:latest
    container_name: acme
    network_mode: host
    volumes:
      - ./:/acme.sh:rw
      - /volume1/web/ssl:/ssl:rw #这里挂载你的实际nginx证书或者其他服务证书存储位置
    restart: unless-stop
    entrypoint: /entry.sh
    command: daemon
3. 退出编辑器,使用docker compose up -d命令拉起acme服务
sudo docker compose up -d本地部署
curl https://get.acme.sh | sh -s [email protected]将邮件换成你自己的邮件地址,完成后acme.sh将出现在家目录的.acme.sh/下
这个脚本会自动 .bashrc 文件中添加 alias acme.sh=~/.acme.sh/acme.sh 后续可直接运行 acme.sh 指令而不用输入完整路径
申请新证书
连接到服务器
如果你不是使用docker部署,请将接下来的
docker exec acme自行替换为acme.sh
如果你已经有了访问服务器或NAS的shell的方法或者你干脆就是在你正在使用的设备上使用docker部署的,你可以跳过这里直达下一部分
开放你的ssh端口(以群晖为例):转到控制面板——>终端机与SNMP,勾选
启用ssh功能,完成后点击右下角的保存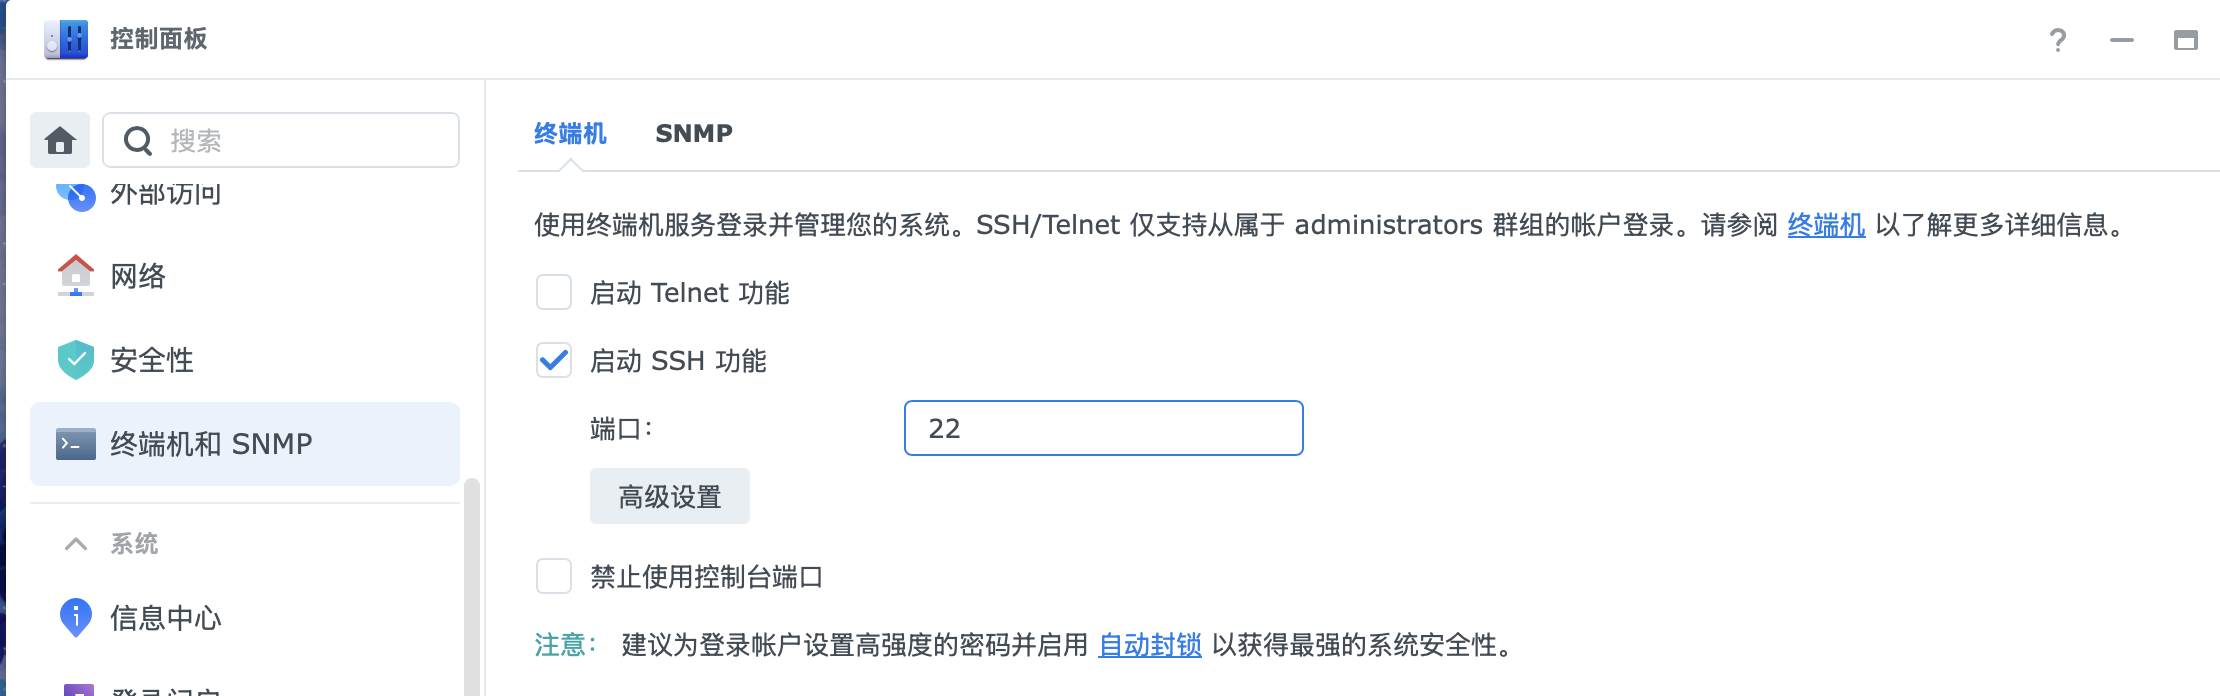
Windows用户右键田字Windows徽标,打开终端(或叫powershell),macOS用户搜索终端应用并打开,
linux不会打开终端模拟器的请按下浏览器上面的叉退出这篇文章,输入ssh链接命令,将@前的内容换成你自己的用户名,@后的内容换成你的服务器或NAS的IP地址
ssh [email protected]The authenticity of host '[xxxxxxx]:22 ([192.168.0.1]:22)' can't be established.
ED25519 key fingerprint is SHA256:xxxxxxxxxxxxxxxxxxxxxxxxxxxxxxxxxxxxxx.
This key is not known by any other names.
Are you sure you want to continue connecting (yes/no/[fingerprint])?出现这个提示输入yes按下回车,然后输入你的密码,注意输入过程中不会显示,完成后按下回车,进入到你远端设备的shell,然后输入sudo -i切换为root用户
╭─[fridayssheep@allinone:~]—{^o^}—(13:00:54)—(1ms)
╰─$> sudo -i
root@allinone:~#
设置acme.sh
再次提醒,如果你不是使用docker部署,请将接下来的
docker exec acme自行替换为acme.sh
由于acme.sh改为默认使用zerossl申请证书,而zerossl需要进行账号注册才能正常使用,所以你可以执行下面的命令来关联zerossl的账号
docker exec acme --register-account -m 你的邮箱 --server zerossl当然,如果你不想注册账号的话也可以改用Let's Encrypt进行申请证书
docker exec acme --set-default-ca --server letsencrypt获取DNS提供商的API Key
确定你使用的DNS提供商,这里以阿里云和Cloudflare为例,更多的DNS提供商api文档可以到acme.sh官方文档查询
证书签发商验证域名是否是你所有的方法一般有两种,一是访问某个域名的http根目录查看是否有某个特定的文件,二是查询特定的dns txt解析记录。对于acme.sh来说,我们提供一个可以操作域名dns解析记录的api给它以便acme.sh可以自动添加txt解析记录并在验证完成后自动删除。
阿里云示例
对于阿里云来说,我们需要前往Accesss Key来添加能使acme.sh操作的api
将鼠标悬浮在头像上,点击权限与安全菜单栏下的AccessKey

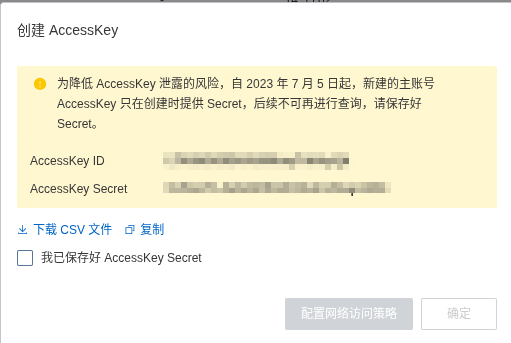
之后点击新建AccessKey,完成安全验证后将得到的AccesssKey ID和Secret保存
重要提醒:请妥善保存这两串key,拥有这个key将拥有对账户所有资源的访问权限!

Cloudflare示例
对于cloudflare来说,同样点击你的头像,转到配置文件
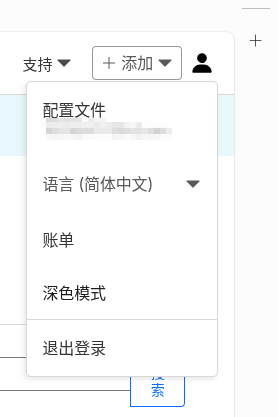
点击左边菜单栏的API令牌,然后点击API密钥下Global API Key的查看,记录下你的API密钥
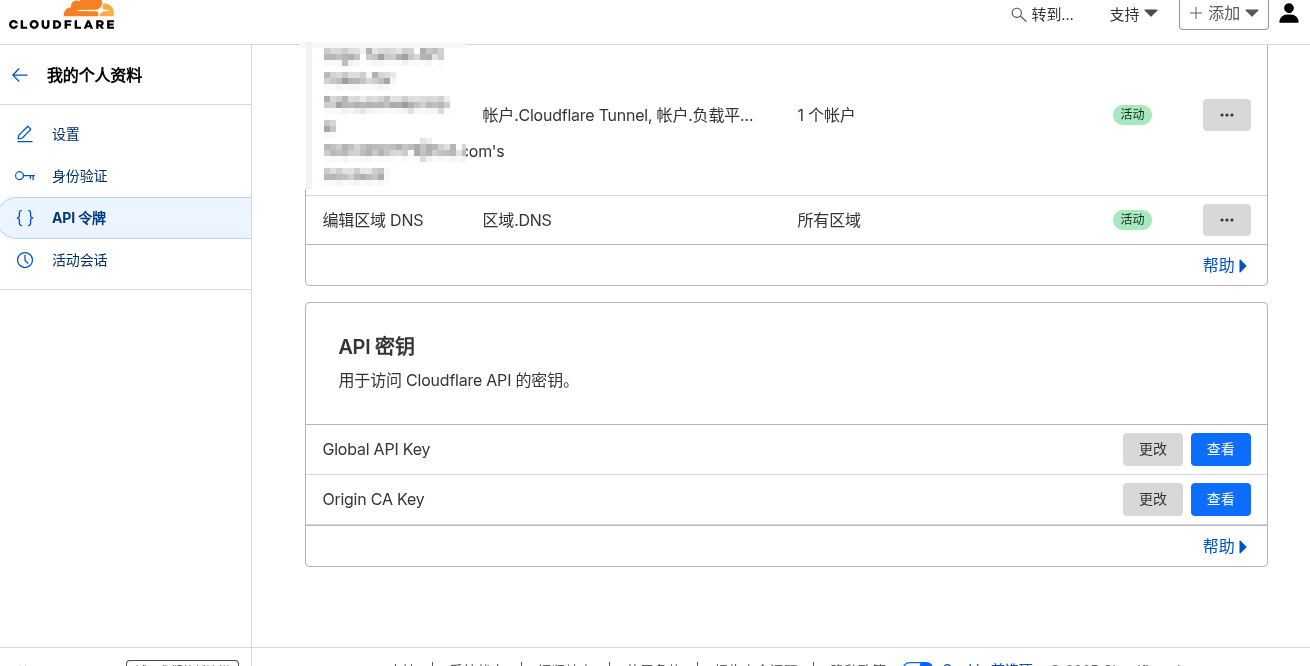
重要提醒:请妥善保存这个key,拥有这个key将同样拥有对账户所有资源的访问权限!
设置你的账户
创建acme.sh文件
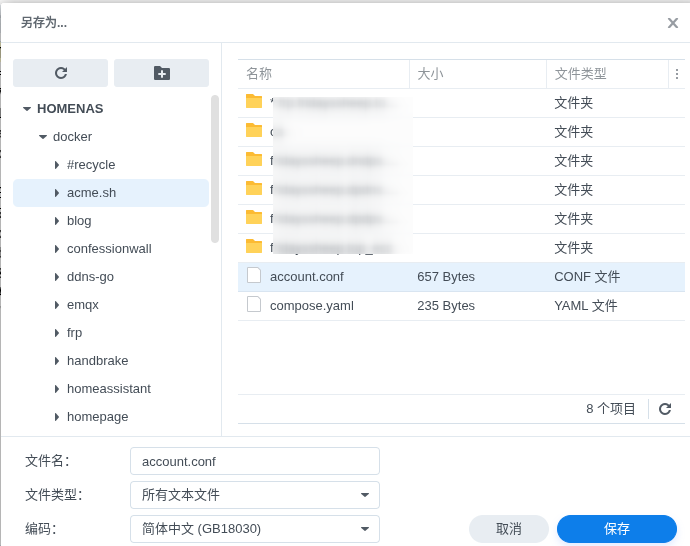
转到你的acme.sh目录下,群晖用户前往套件中心安装文本编辑器,也可以使用vim编辑器创建account.conf文件
群晖示例
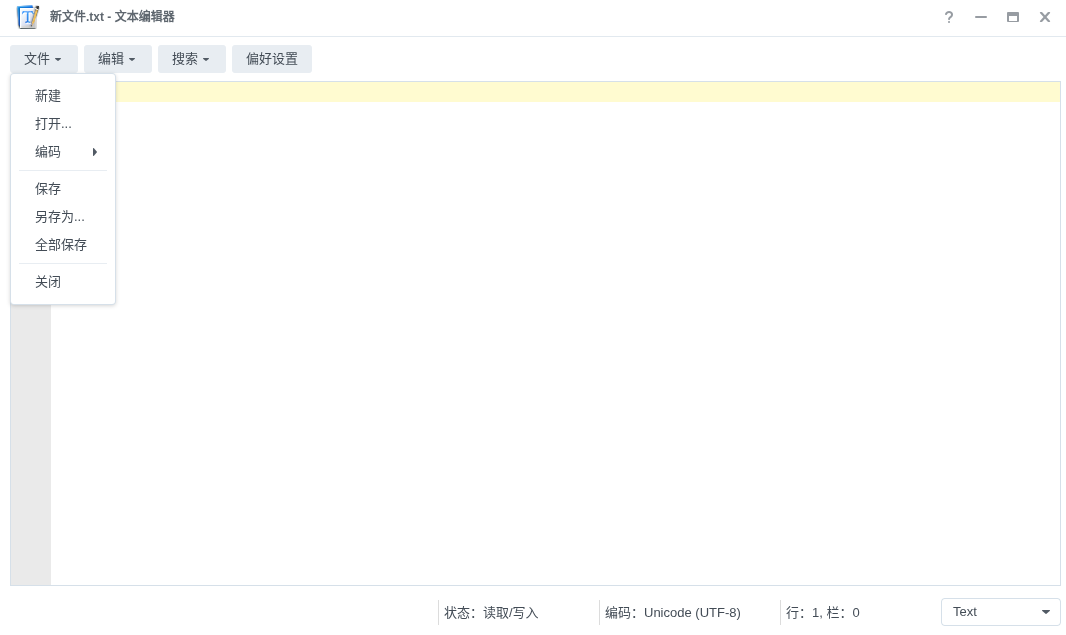
点击文件——>新建后另存为account.conf保存到你的acme.sh目录下
命令行创建
cd acme && vim account.conf向account.conf内添加你的账号信息
#阿里云请把获得的key和secret填到对应位置
export Ali_Key="1145141919810"
export Ali_Secret="qwertyuiop114514"
#Cloudflare把获得的key和你的账号邮箱填到对应位置
export CF_Key="12121213441241251"
export CF_Email="[email protected]"输入后点击保存或使用:wq退出vim编辑器
申请证书
在-d后面填入你想申请证书的域名,支持泛域名
--dns来指定你所使用的域名提供商(如dns_ali是阿里云,dns_cf是cloudflare),其他提供商具体可以查询官方文档来获知
--force可以忽略已有的定时证书续期任务强制执行一次证书申请
docker exec acme --issue --dns dns_ali -d fridayssheep.top -d *.fridayssheep.top一段时间后,当输出类似的提示,查看acme.sh文件夹,你的证书应该就放在以你的域名_ecc为名字的文件夹下
[Sun Oct 12 14:52:03 UTC 2025] Using CA: https://acme-v02.api.letsencrypt.org/directory
[Sun Oct 12 14:52:03 UTC 2025] Multi domain='DNS:fridayssheep.dpdns.org,DNS:*.fridayssheep.dpdns.org'
[Sun Oct 12 14:52:08 UTC 2025] Getting webroot for domain='fridayssheep.dpdns.org'
[Sun Oct 12 14:52:08 UTC 2025] Getting webroot for domain='*.fridayssheep.dpdns.org'
[Sun Oct 12 14:52:08 UTC 2025] Adding TXT value: z2uyhXtH6RC9kKlYLurRvXaXa12hXqB1hYF2oXcudBc for domain: _acme-challenge.fridayssheep.dpdns.org
[Sun Oct 12 14:52:12 UTC 2025] Adding record
[Sun Oct 12 14:52:13 UTC 2025] Added, OK
[Sun Oct 12 14:52:13 UTC 2025] The TXT record has been successfully added.
[Sun Oct 12 14:52:13 UTC 2025] Let's check each DNS record now. Sleeping for 20 seconds first.
[Sun Oct 12 14:52:33 UTC 2025] You can use '--dnssleep' to disable public dns checks.
[Sun Oct 12 14:52:33 UTC 2025] See: https://github.com/acmesh-official/acme.sh/wiki/dnscheck
[Sun Oct 12 14:52:33 UTC 2025] Checking fridayssheep.dpdns.org for _acme-challenge.fridayssheep.dpdns.org
[Sun Oct 12 14:52:46 UTC 2025] Success for domain fridayssheep.dpdns.org '_acme-challenge.fridayssheep.dpdns.org'.
[Sun Oct 12 14:52:46 UTC 2025] All checks succeeded
[Sun Oct 12 14:52:46 UTC 2025] fridayssheep.dpdns.org is already verified, skipping dns-01.
[Sun Oct 12 14:52:46 UTC 2025] Verifying: *.fridayssheep.dpdns.org
[Sun Oct 12 14:52:47 UTC 2025] Pending. The CA is processing your order, please wait. (1/30)
[Sun Oct 12 14:52:50 UTC 2025] Pending. The CA is processing your order, please wait. (2/30)
[Sun Oct 12 14:52:53 UTC 2025] Pending. The CA is processing your order, please wait. (3/30)
[Sun Oct 12 14:52:56 UTC 2025] Pending. The CA is processing your order, please wait. (4/30)
[Sun Oct 12 14:53:00 UTC 2025] Pending. The CA is processing your order, please wait. (5/30)
[Sun Oct 12 14:53:03 UTC 2025] Pending. The CA is processing your order, please wait. (6/30)
[Sun Oct 12 14:53:06 UTC 2025] Success
[Sun Oct 12 14:53:06 UTC 2025] Removing DNS records.
[Sun Oct 12 14:53:06 UTC 2025] Removing txt: z2uyhXtH6RC9kKlYLurRvXaXa12hXqB1hYF2oXcudBc for domain: _acme-challenge.fridayssheep.dpdns.org
[Sun Oct 12 14:57:14 UTC 2025] Success remove txt for domain: _acme-challenge.fridayssheep.dpdns.org
[Sun Oct 12 14:57:14 UTC 2025] Verification finished, beginning signing.
[Sun Oct 12 14:57:14 UTC 2025] Let's finalize the order.
[Sun Oct 12 14:57:17 UTC 2025] Downloading cert.
[Sun Oct 12 14:57:19 UTC 2025] Cert success.
-----BEGIN CERTIFICATE-----
XXxxxxxxxxxxxxxxxxxxxxxxxxxxxxxxxxxxxxxxxxxxxxxxxxxxxxxxxxxxxxx
xxxxxxxxxxxxxxxxxxxxxxxxxxxxxxxxxxxxx
-----END CERTIFICATE-----
[Sun Oct 12 14:57:19 UTC 2025] Your cert is in: /acme.sh/fridayssheep.dpdns.org_ecc/fridayssheep.dpdns.org.cer
[Sun Oct 12 14:57:19 UTC 2025] Your cert key is in: /acme.sh/fridayssheep.dpdns.org_ecc/fridayssheep.dpdns.org.key
[Sun Oct 12 14:57:19 UTC 2025] The intermediate CA cert is in: /acme.sh/fridayssheep.dpdns.org_ecc/ca.cer
[Sun Oct 12 14:57:19 UTC 2025] And the full-chain cert is in: /acme.sh/fridayssheep.dpdns.org_ecc/fullchain.cer
acme.sh 默认会在证书到期1个月前自动续期证书,你可以在容器内的 /var/spool/cron/crontabs/ 目录下找到 acme.sh 自动添加的 cron 任务
安装证书
安装证书文件到指定目录
由于acme.sh内的证书文件夹在之后的版本可能会变动,所以官方并不推荐直接将acme.sh内部的证书直接映射给nginx或是frp使用,但是acme.sh提供了--install-cert方法将证书安装到指定的目录。
对于部署到docker的acme.sh,你应该在docker-compose.yaml文件里提前将指定的目录做好映射
docker exec acme --install-cert -d fridayssheep.top -d *.fridayssheep.top --key-file /ssl/fridayssheep/fridayssheep.key --fullchain-file /ssl/fridayssheep/fridayssheep.cer当看到类似这样的日志输出,你的证书就被安装进了指定的目录
[Sat Oct 18 22:00:01 UTC 2025] The domain 'fridayssheep.top' seems to already have an ECC cert, let's use it.
[Sat Oct 18 22:00:01 UTC 2025] Installing key to: /ssl/fridayssheep/fridayssheep.key
[Sat Oct 18 22:00:01 UTC 2025] Installing full chain to: /ssl/fridayssheep/fridayssheep.cer之后修改你的nginx或是frp或是candy配置文件,将ssl目录映射到正确的位置,重启这些服务,没意外的话,则应该已经生效了
安装证书文件到群晖DSM
acme.sh提供了--deploy-hook synology_dsm允许自动操作群晖DSM更新自带服务的证书(其实就是nginx套皮)
在使用之前,先编辑acme.sh/下的account.conf文件添加你的群晖DSM用户名和密码
export SYNO_Username='User'
export SYNO_Password='1145145191810'保存account.conf文件后在终端中执行,acme.sh会自动将证书安装到群晖并重启网页服务器
docker exec acme --deploy -d fridayssheep.top -d *.fridayssheep.top --deploy-hook synology_dsm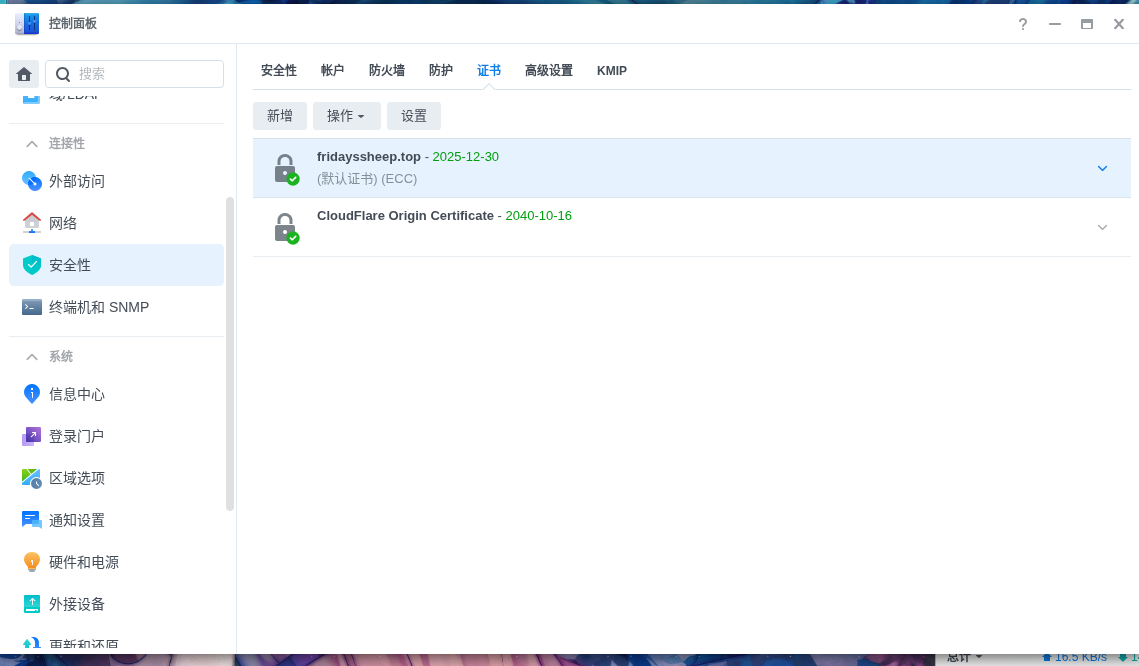
证书转换
对于WindowsRDP或是VNC可能用到的pfx格式的证书,acme.sh也提供了--toPkcs方法将证书转换为pfx格式
docker exec acme --toPkcs -d fridayssheep.top -d *.fridayssheep.top --password 114514设置定时任务
如果你在服务器上部署了acme.sh ,你可以安装1panel来执行定时重启nginx等任务
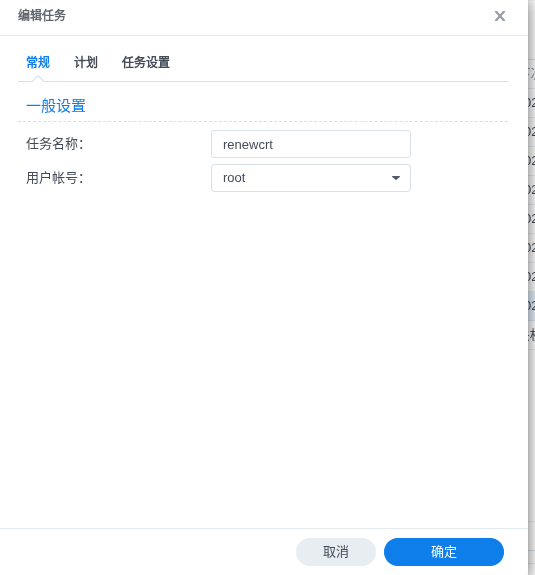
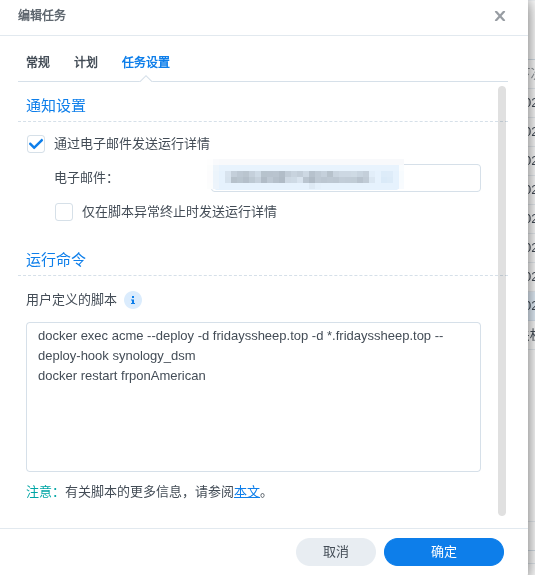
对于群晖用户,你可以前往控制面板——>任务计划中点击新增——>计划的任务——>用户定义的脚本添加一个由root执行的定时任务来自动重启对应的服务或安装证书到DSM

在NAS或服务器上使用acme.sh为你的网站申请免费的SSL证书并自动部署
https://blog.fridayssheep.top/archives/user_acme_sh_to_apply_free_ssl
评论